Going Hugo
How I Used Hugo to Build My Portfolio Site

Class of ‘23
It was time to update my professional profile, resume, and, most importantly, my portfolio. This post explores that journey.
The information design program encouraged students to use Adobe’s Portfolio in preparation for their internships during their 2nd year of studies. It was time for a change.
While the decision to use Adobe’s portfolio has many advantages, it comes with a few significant drawbacks:
- Price tag is the major deterrent, specifically the push to an annual subscription model.
- Formulaic offerings which look great but offer little in terms of customizability.
- Uninspired user experience that offers tedious formatting options and leaves me frustrated.
Static Site Generators
According to Jamstack, Static Site Generators (SSGs) serve a website from a prebuilt set of files within a repository, such as git.
There are many flavours of SSGs, each with their own set of features and capabilities. The most popular of which are Gatsby, Jekyll, 11ty, Next.js, Astro, Docusaurus, and Hugo.
Exploring My Options
Despite my technical inclinations, I wanted a portfolio solution which required minimal configuration and dependencies. I experimented with a few popular choices, initially Gatsby and then Eleventy, but neither platform felt succinct.
A series of incompatibilities and redundant workarounds ultimately discouraged further experimentation. I wanted simplicity.
Hugo is a static site generator written in Go. Beyond its blazing fast performance, I chose Hugo because it offers:
- Headless CMS allows me to write entries in plain text instead of within Adobe’s content management system.
- Markdown streamlines page content and metadata.
- Shortcodes for JavaScript libraries like image galleries.
- TOML language enables simple configuration.
- Instant previews save time and aid troubleshooting.

https://gohugo.io)Site Building
The process of building the portfolio site was split between two workflows: (1) create the site and (2) format existing content.
Create New Site
I followed the official Quick Start to install Hugo, create a new site, acquire a theme, and run the included development server to test that everything was working as expected.
I chose this theme for its simplicity and functionality, specifically:
- CDN for third-party libraries supported
- Lazy Load by lazysizes to auto-resize images
- Images gallery supported by lightGallery
- Responsive layout
- Light/Dark mode
- Search supported by Lunr.js or algolia
- Mathematical formula supported by $\KaTeX$
- Diagrams shortcode supported by mermaid
- Data visualization shortcode supported by ECharts
- Admonitions shortcode
- Custom style shortcode
- Custom script shortcode
- Highlight code automatically
- Copy code to clipboard with one click
- Font Awesome icons
The theme also has great documentation.
Create New Post
Use Hugo’s CLI to create a new entry, ‘aProject’ for example:
| |
Then, add some images to the new ‘aProject’ directory.
| |
This utilizes Hugo’s page-bundle function which allows simple organization and local file references, such as images.
For example:
| |
Will be rendered as::
(re)Format Content
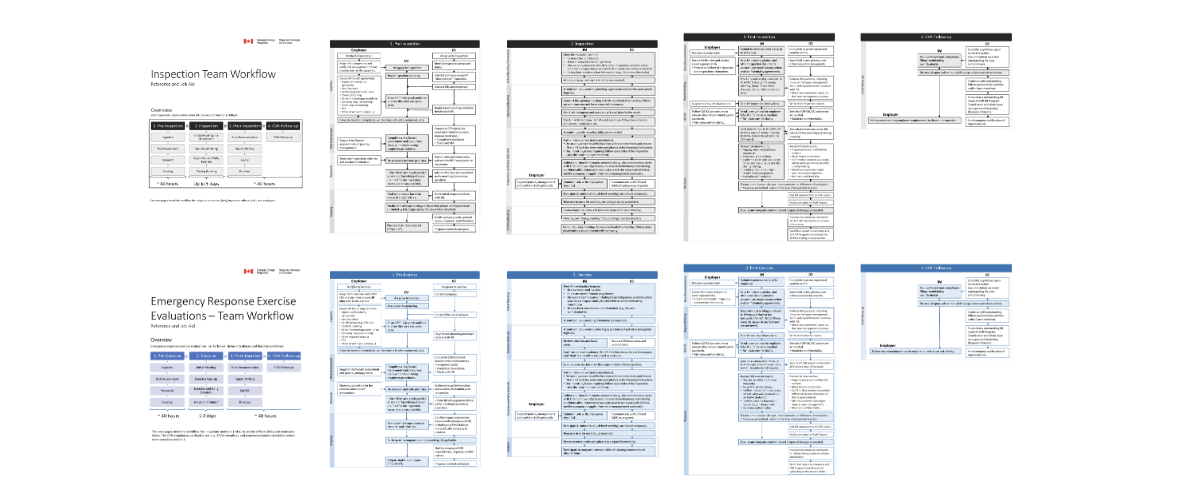
While future entries will utilize built in diagrams, charts, and formula, the bulk of my previous work exists as physical documents, either .docx or .pdf files. Therefore, it was important to consider how the scale and device viewport transforms these documents as components within a responsive webpage.
While not an ideal manner to demonstrate every aspect of a project, I chose to export PNG images for .docx files because:
- images remove requirements of propriety software, i.e. Microsoft Word.
- images avoid the tedium of downloading each document, such as a .PDF
- images are responsive
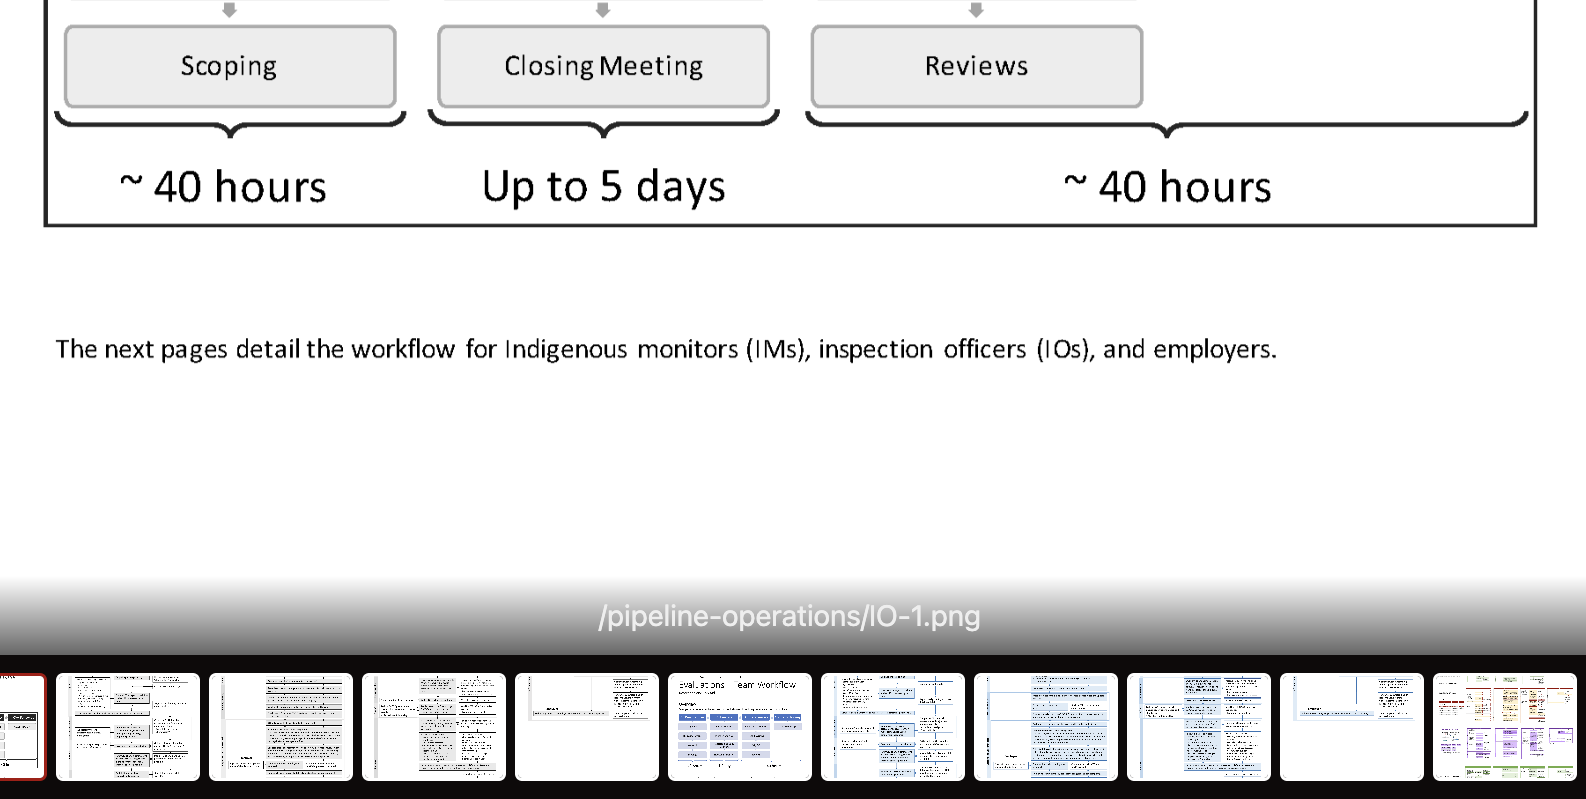
The functionality of lightgallery is superb for images as documents because it enables a more tactile, document-like experience.
For example, zoom and pan functionality enables a dynamic viewport at scale, and the ability to flip through a gallery like the pages of a book, providing a user experience more resonant to the documents in use.
Deployment
I chose Netlify because they offer a free and simple deployment solution, all that is required is that you link a git repo to their service.
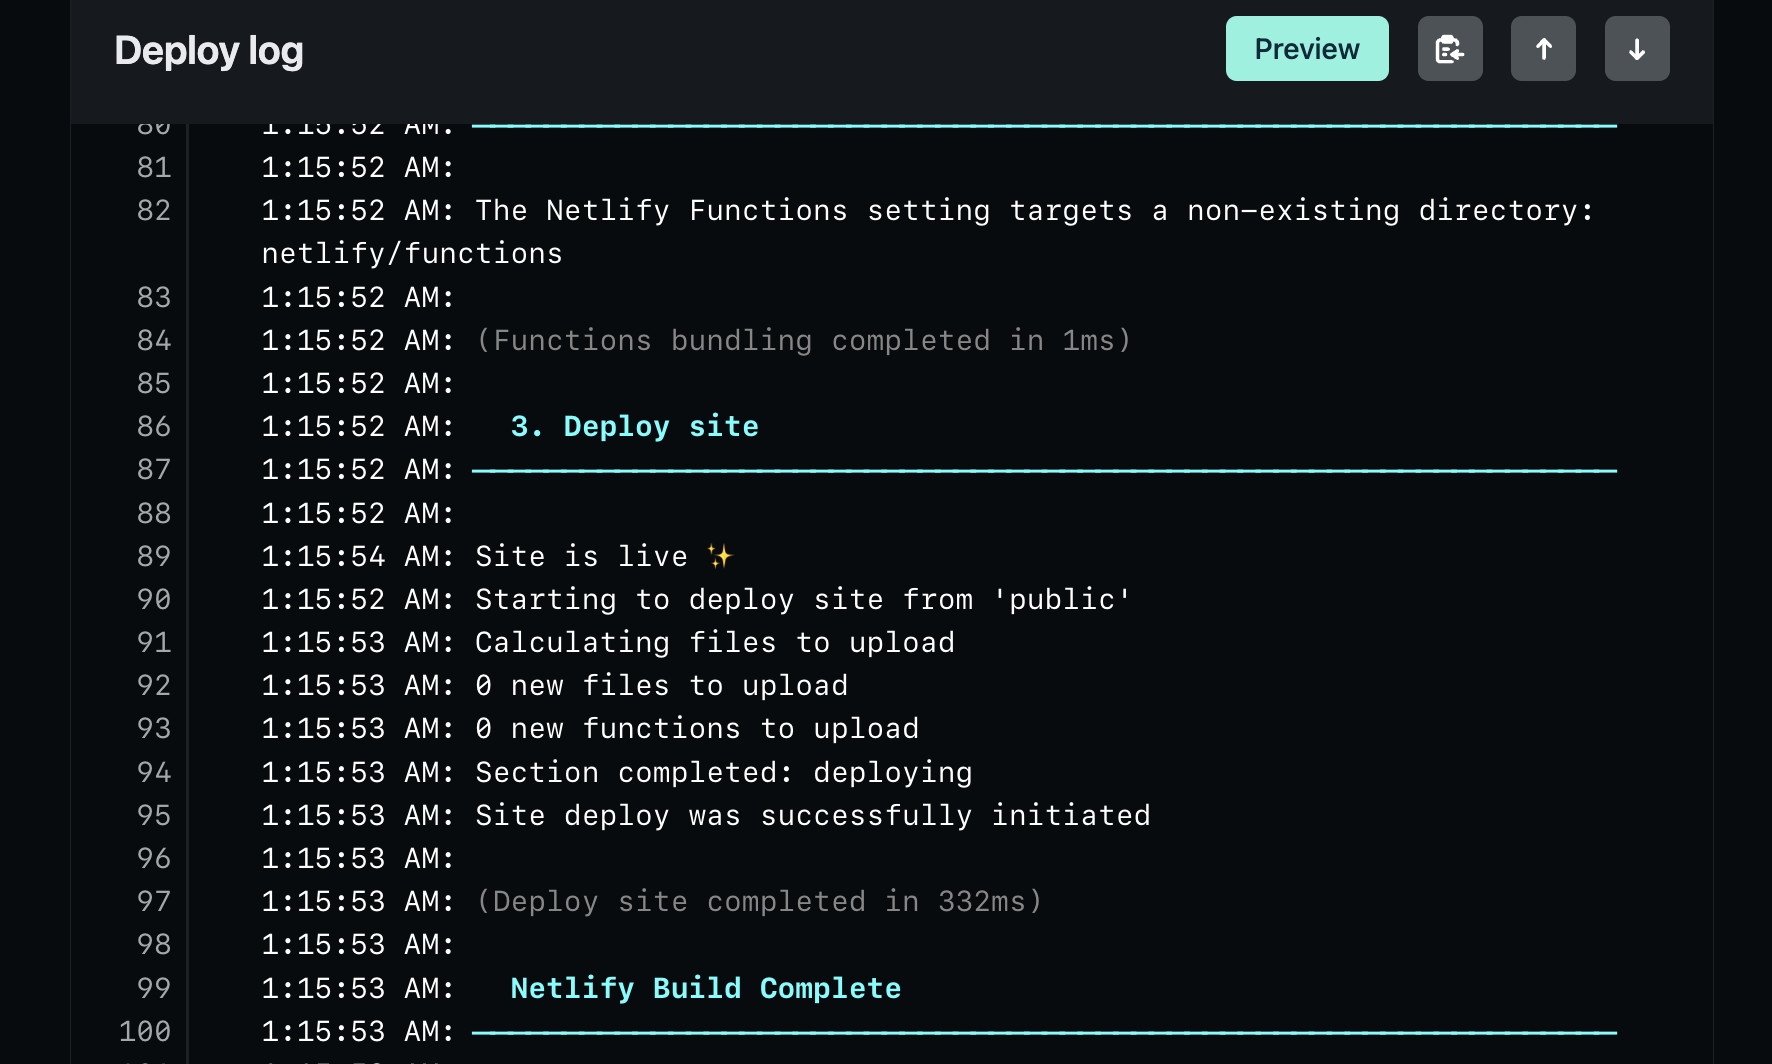
To make a change, such as publish a new post, simply push the changes to a github repo, and, voila! Netlify builds my site, checking for errors in the process, and publishes the directory to my domain.
For example, publish this post by first building the page locally:
| |
Then, proceed to push via git:
| |
Netlify will immediately rebuild the site.

